How to Install Stair Railing: A DIY Guide
- Status Railings

- Apr 19, 2025
- 4 min read
Updated: Apr 20, 2025
Disclaimer: This guide is intended for DIY enthusiasts. Status Railing is not responsible for any issues or damage arising from this project. If professional assistance is required, please contact us.
Introduction
Whether refreshing a backyard deck or upgrading an interior staircase, knowing how to install stair railing correctly is essential for safety and aesthetics. In Canada, proper railing installation must adhere to building code standards for height, clearance, and strength. This post will walk you through every step, from planning and permits to the final touches, so you can confidently install stair railing on your own.
Understanding Stair Railing and Code Requirements
Before you start, familiarize yourself with Ontario Building Code regulations for deck railing and stair railing installation:
Handrail Height: Between 865 mm and 965 mm (34–38 in) measured vertically from the stair tread nosing.
Clearance: Minimum 50 mm (2 in) between the handrail and adjacent wall or balusters.
Baluster Spacing: Maximum 100 mm (4 in) gap to prevent small objects or limbs from passing through. (Baluster Spacing calculator can be found here)
Load Capacity: Handrails and guardrails must withstand a 0.9 kN (200 lbf) load applied in any direction.
Understanding these requirements ensures your railing installation meets legal standards and keeps users safe.

Materials and Tools for Railing Installation
To install stair railing, gather the following materials and tools:
Materials:
Premilled handrail section of your choice (wood or aluminum deck railing profile)
Handrail brackets (spaced no more than 1.2 m apart)
Mounting screws (stainless steel or hot‑dipped galvanized)
Wood or composite balusters (optional, if installing full guardrail)
End‑caps or newel posts (for closed‑end handrail)
Tools:
Tape measure and carpenter’s level
Stud finder
Pencil and painter’s tape (for markings)
Miter saw or handsaw
Drill with appropriate bits
Screwdriver or impact driver
Protective gear (gloves, safety glasses)
With the right preparation, railing installation proceeds smoothly and safely.
Step-by-Step Guide: How to Install Stair Railing
1. Plan Your Railing Layout
Start by measuring the total length of your staircase. Determine where you will mount brackets—typically one within 300 mm (12 in) of the top and bottom steps, and evenly spaced no farther than 1.2 m (48 in) apart. Mark these points with painter’s tape.
2. Locate and Mark Studs
Use a stud finder to locate structural supports behind the wall or on newel posts. Transfer these locations to the staircase using a level line at the desired handrail height (between 865 mm and 965 mm above the tread nosing). Mark each stud centre with a pencil.
3. Cut the Handrail to Size
Measure the distance between your top and bottom bracket marks along the angled plane of your stairs. Cut the premilled handrail to length, allowing an overhang of one tread width (approximately 250 mm) at both ends for comfort. Miter the ends at a 45° angle if desired for a clean finish.
4. Install Brackets
Position each bracket at your marked locations, ensuring the top of the bracket aligns with the dashed line for proper height. Pre‑drill pilot holes into studs or posts, then secure brackets using corrosion‑resistant screws. Confirm each bracket is level and firmly seated.
5. Mount the Handrail
Place the handrail onto the brackets and adjust until it sits flush with the wall clearance of at least 50 mm. Attach the rail to the brackets using the included U‑shaped clamps or screw‑on collars, depending on bracket style. Tighten securely without over‑torquing to avoid damaging the handrail.
6. Add Balusters or Guardrail Sections (Optional)
If your project includes a full deck railing system, install balusters or vertical infill pieces now. Space balusters no more than 100 mm apart, fastening them to the deck stair railing and base rail according to manufacturer instructions.
7. Inspect and Test Your Installation
After attaching rails and balusters, perform a safety check. Apply firm downward and outward pressure to ensure the railing remains rigid. Verify that height and clearance measurements comply with code. Address any loose fittings or misalignments immediately.
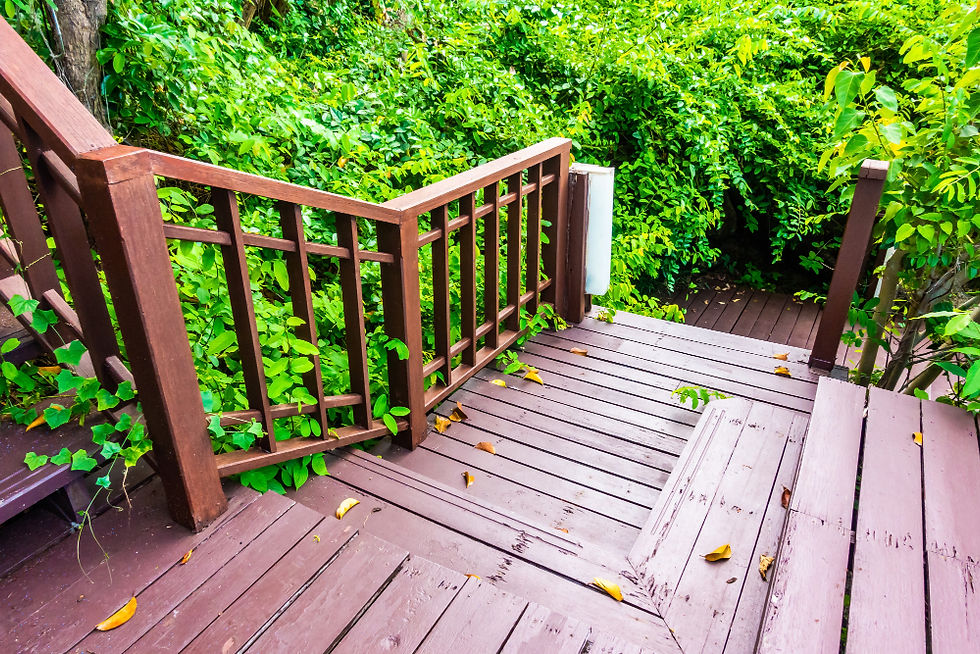
How to Install Deck Railing Alongside Stair Railing
Many homeowners choose to install deck railing systems with integrated stair railing to maintain uniform aesthetics. To install deck railing, follow the same bracket‑placement and height guidelines, ensuring posts for deck railing are anchored to structural joists. Use compatible hardware and profiles so that deck railing and stair railing match seamlessly.

Common Questions on Railing Installation
How do you install stair railing on uneven surfaces?
Adjust bracket heights individually by shimming behind the bracket plate until the rail aligns level along the slope.
How to install rails on a curved staircase?
Use flexible handrail material or pre‑laminated hardwood; install in short sections and Cove the joints with decorative trim.
Can I use the same brackets for deck railing?
Yes. Choose brackets rated for exterior use and corrosion resistance for outdoor deck railing installation.
Conclusion and Disclaimer
With accurate measurements, quality materials, and attention to code requirements, DIY railing installation is achievable for many homeowners. This guide has shown how to install stair railing, how to install deck railing, and general railing installation best practices.
Status Railing is not responsible for any damage or issues arising from DIY projects. If you need professional assistance with railing installation in Ontario, please contact us for expert service.


Comments